3D Printing Technology Icons Set: A Practical Guide for Designers and Innovators
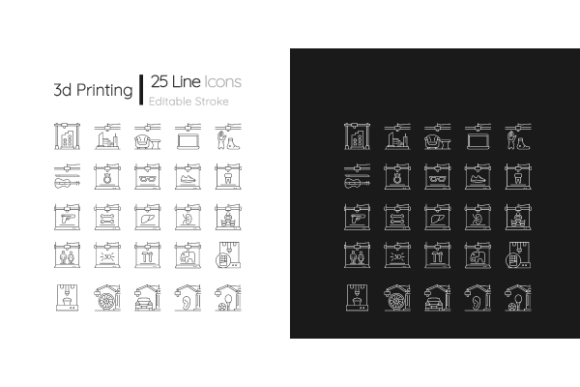
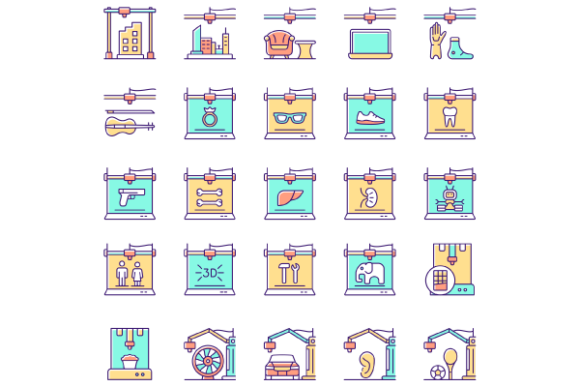
Visual communication in the additive manufacturing sector requires a delicate balance between technical accuracy and aesthetic appeal. Whether you are designing a pitch deck for a rapid prototyping startup, creating educational materials for 3D modeling students, or building a mobile app interface for printer management, the 3D Printing Technology Icons Set serves as a foundational visual toolkit. These assets are not merely decorative; they function as a universal language that translates complex engineering concepts like layer deposition, product testing, and digital fabrication into instantly recognizable symbols.
However, acquiring the right icon set is only the first step. Many designers and content creators inadvertently compromise their projects by overlooking critical technical specifications or misapplying these graphical elements. Understanding how to properly evaluate, select, and implement these resources ensures your design work remains professional, scalable, and legally compliant while saving significant time in the production process.
Common Pitfalls When Selecting Vector Illustrations
The most frequent error occurs during the selection phase, where buyers focus solely on the visual thumbnail rather than the underlying file architecture. A common misunderstanding is assuming all "vector" files are created equal. While an icon may look crisp on a website preview, it might be constructed poorly internally. Some sets rely heavily on raster effects or expanded strokes that cannot be edited. If you need to adjust the line weight of a simple filled line drawing to match your brand guidelines, but the paths have been flattened into shapes, you are forced to redraw the asset from scratch. This negates the primary benefit of purchasing a pre-made collection.
Another overlooked detail involves color space confusion. The specific 3D printing technology RGB color icons set mentioned here is optimized for digital screens. A practical mistake arises when designers attempt to use RGB assets directly in print brochures without conversion. RGB colors often appear duller or shifted when converted to CMYK for physical printing. Before committing to a purchase for a dual-purpose project, verify if the set includes a CMYK variant or if the RGB values are within a safe printable gamut. Assuming one format fits all mediums leads to costly reprints or inconsistent branding across digital and physical touchpoints.
Evaluating File Formats for Future-Proofing
Efficiency in design workflows depends heavily on having the correct source files. A comprehensive collection should include JPEG, AI, PNG, EPS, and SVG formats, but knowing when to use each is vital for maintaining quality.
- SVG (Scalable Vector Graphics): Essential for web and mobile app screen pages. Unlike static images, SVGs scale infinitely without pixelation and can be styled with CSS. Avoid using PNGs for responsive web elements where crispness at any resolution is required.
- AI and EPS: These are your master editing files. Always retain these even if you currently only need a PNG export. Future projects may require modifying the isolated vector illustrations, and losing access to the editable source locks you out of customization.
- PNG: Best for presentations and documents where transparency is needed but vector support is limited. Ensure the resolution is sufficiently high (at least 300 DPI equivalent) to prevent blurring on modern high-density displays.
- JPEG: Generally less useful for icons due to lack of transparency and compression artifacts. Use only for quick mockups or reference, never for final production assets.
Neglecting to check for true editability in AI or EPS files is a costly oversight. Some marketplaces sell "vectors" that are actually embedded raster images inside an Illustrator file. Always inspect the file structure or read the technical description carefully to confirm the artwork consists of actual paths and anchor points.
Misapplication in Technical Contexts
Beyond file mechanics, there is a semantic risk in using 3D printing iconography. The industry evolves rapidly, and outdated symbols can make your content appear obsolete or misleading. For instance, using a generic gear icon to represent "3D modeling" fails to communicate the specific nature of CAD design or mesh generation. Similarly, confusing "rapid prototyping" with "mass production" imagery can send the wrong message to investors or clients who understand the distinction between iterative testing and final manufacturing.
To avoid this, audit the icon set for conceptual accuracy. Does the set include specific representations for creating three-dimensional objects versus general manufacturing? Are there distinct icons for FDM versus SLA technologies if your content requires that level of granularity? Using a generic factory symbol for a section on desktop 3D modeling creates cognitive dissonance for knowledgeable audiences. Precision in icon selection reinforces your authority and ensures the visual narrative aligns with the technical reality of additive manufacturing.
Integration with Brochure Templates and Infographics
When incorporating these icons into larger layouts like brochure templates or infographic elements, consistency is paramount. A frequent design failure is mixing icon styles. Combining the simple filled line drawings from this set with heavy, gradient-filled 3D renders from another source creates a disjointed user experience. Stick to a single visual family throughout a project. If you must mix sources, ensure the stroke width, corner radius, and optical weight are identical.
Furthermore, consider the negative space within the icons. In dense infographics explaining product testing workflows, overly detailed icons can create visual noise. The advantage of this specific collection lies in its simplicity. Leverage the clean geometry to guide the viewer’s eye through complex processes. Over-stylizing these minimal assets with unnecessary shadows or glows often reduces legibility, especially at smaller sizes typical in mobile interfaces or sidebar navigation.
Making Informed Decisions for Long-Term Value
Before finalizing your acquisition of any design asset, conduct a brief needs assessment. Ask yourself whether the set covers the full scope of your current and anticipated future projects. BSD studio provides a variety of products and topics, suggesting a broader ecosystem of compatible assets. Investing in a cohesive library from a single provider often yields better long-term results than piecing together disparate freebies. This approach ensures that when you need to expand your content to cover adjacent topics like CNC machining or laser cutting, the new assets will seamlessly integrate with your existing 3D printing visuals.
Also, review the licensing terms with the same rigor you apply to technical specs. Commercial use, modification rights, and attribution requirements vary significantly. Misunderstanding these terms can lead to legal complications or forced redesigns later. Count on reputable providers to offer clear, transparent licensing that supports both freelance creators and enterprise teams. Saving money upfront on a restrictive or low-quality license often costs more in time and stress when limitations are discovered mid-project.
Ultimately, the goal is to enhance communication, not just fill space. By prioritizing technical compatibility, conceptual accuracy, and stylistic consistency, you transform a simple icon set into a powerful asset for conveying innovation. Whether you are educating beginners on the basics of layer adhesion or presenting sophisticated R&D data to stakeholders, the right visual tools—used correctly—bridge the gap between complex technology and human understanding. Take the time to evaluate these details thoroughly, and your design work will reflect the same precision and quality inherent in the 3D printing technology itself.